The quality of the drone images you take matters, especially when you are capturing photos from a DJI drone. However, some drone pilots say the DJI photo quality can be unreliable and may need some adjustment to work accurately. So, what does DJI photo quality really look like? And, how can you make it better?
The photo quality for DJI drones ranges from hobbyist to photos that are professional standard. However, all DJI drones come with extended photo camera settings that can allow you to take amazing pictures given the right adjustments.
From the original DJI drone lineup (including the Mavic air, phantom and mini) all the way to the latest models (phantom 4 pro, Mavic 3 and Mini 3 Pro) these drones have been designed to provide you with high photo and video 4k quality.
The high dynamic range makes it nearly impossible to screw up when working with bright highlights and deep, dark shadows (most drone shots). The good news is that the DJI firmware and DJI fly app just keep on getting better and even the most novice of pilots can fly a drone and capture some quality pictures.
Are you curious to learn more about the photo quality you can get with DJI drones? In this article, we will take a look at some of the quality indicators from the biggest DJI drone models, and how you can adjust settings to get the right shot every time!
What Photo Quality Does A DJI Drone Offer?
To understand what kind of quality DJI drones bring to the table, it is important to look at some of the most popular drones and see what their camera capabilities are. So, let’s take a look at a few drones by DJI and understand what each offers, in terms of photo quality. Here is a table comparing the quality of 3 drone models:
| Feature | DJI Mavic 3 | DJI Mini 2 | DJI Air 2S |
| Sensor | 4/3 CMOS | 1/2.3” CMOS | 1″ CMOS |
| MP | 20 | 12 | 20 |
| Aperture | f/2.8 to f/11 | f/2.8 | f/2.8 |
| Minimum Focus | 1 meter | 1 meter | 0.6 meter |
| ISO Range | 100-6400 | 100-3200 | 100-12800 |
| Shutter Speed | 8-1/8000 s | 4-1/8000 s | – |
| Image Size | 5280×3956 | 4000×3000 | 5472×3648 |
| Formats | JPEG/DNG (RAW) | JPEG/DNG (RAW) | JPEG/DNG (RAW) |
Nearly all DJI drones come with a 3-axis gimbal that’ll help keep your image quality as professional as possible and minimise the shaving that can often occur in aerial photos.
As the technology gets cheaper to manufacture, the camera hardware is getting better. Things like the image sensor, low light response and battery life (for not having to rush through the framing) are becoming more advanced with each drone model release.
Also, it has to be said that post-production in editing suites such as adobe lightroom and others will be able to take your DJI drone photos and 4k videos to a whole new level. Dehazing, colour grading and balancing will really take all of the photos taken to a whole new level.
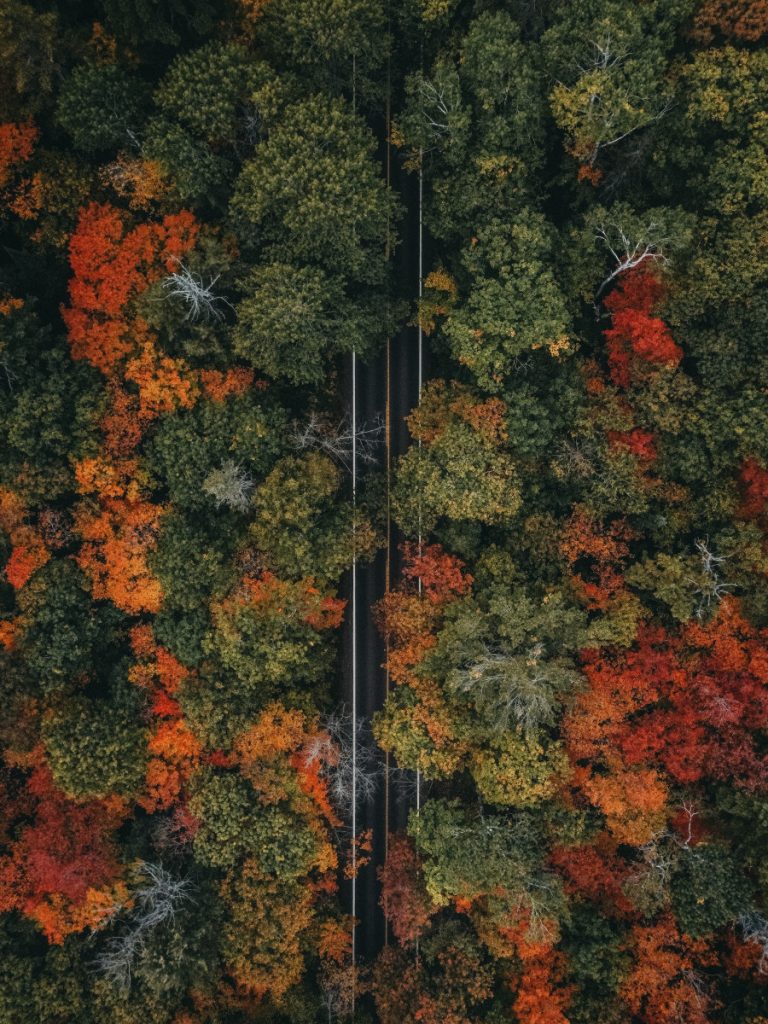
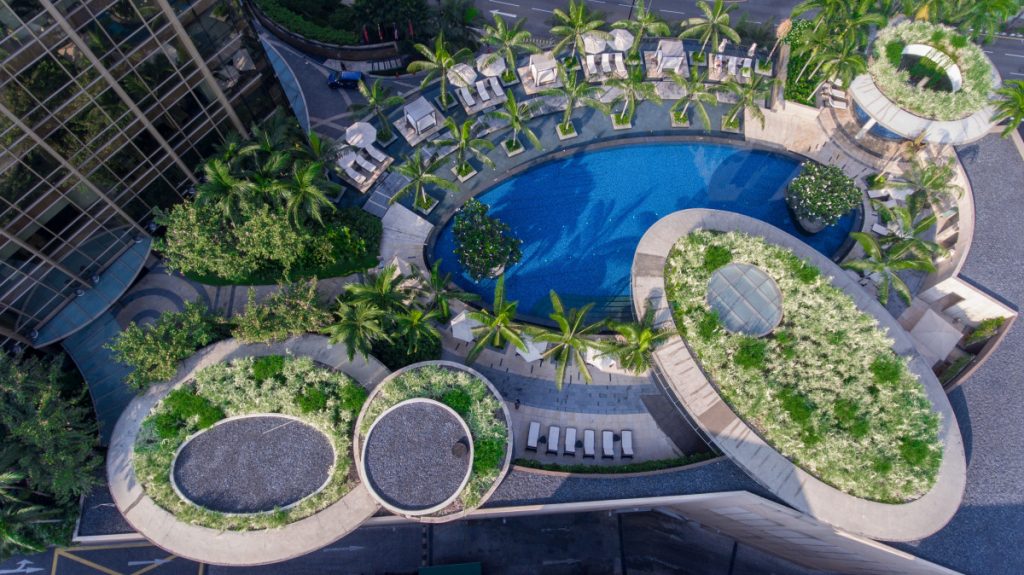
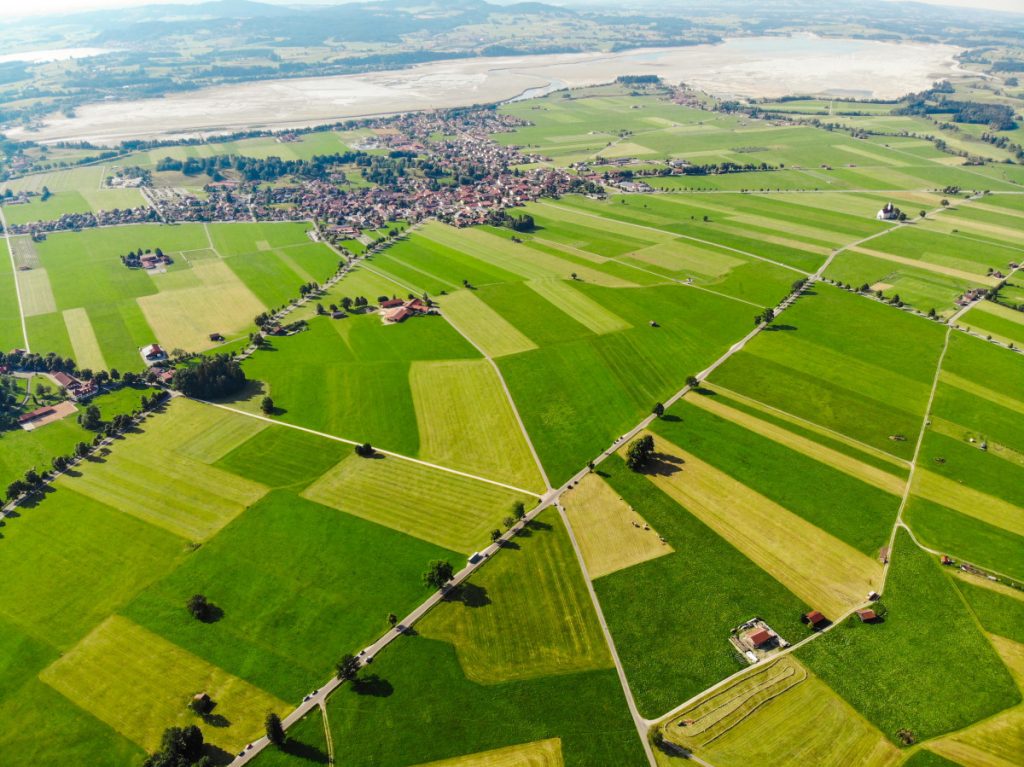
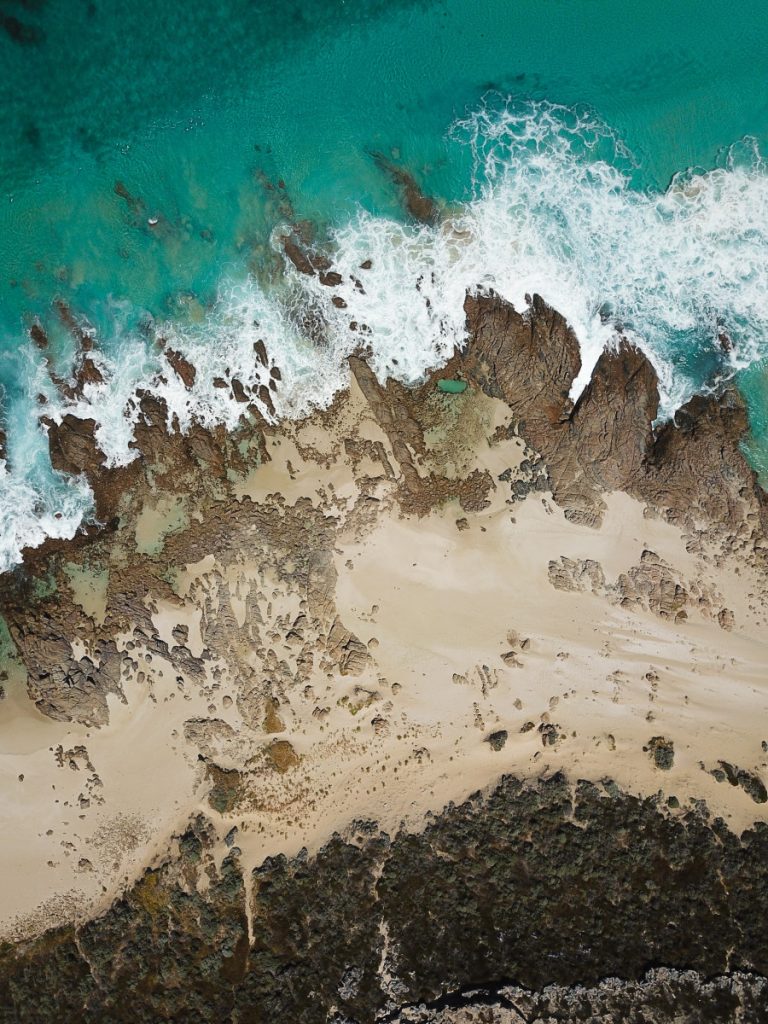
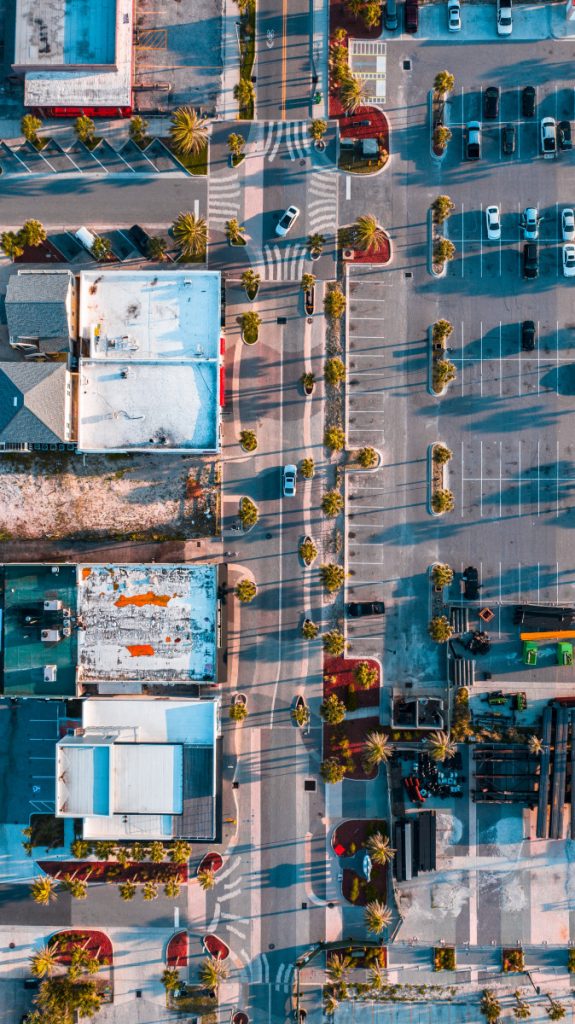
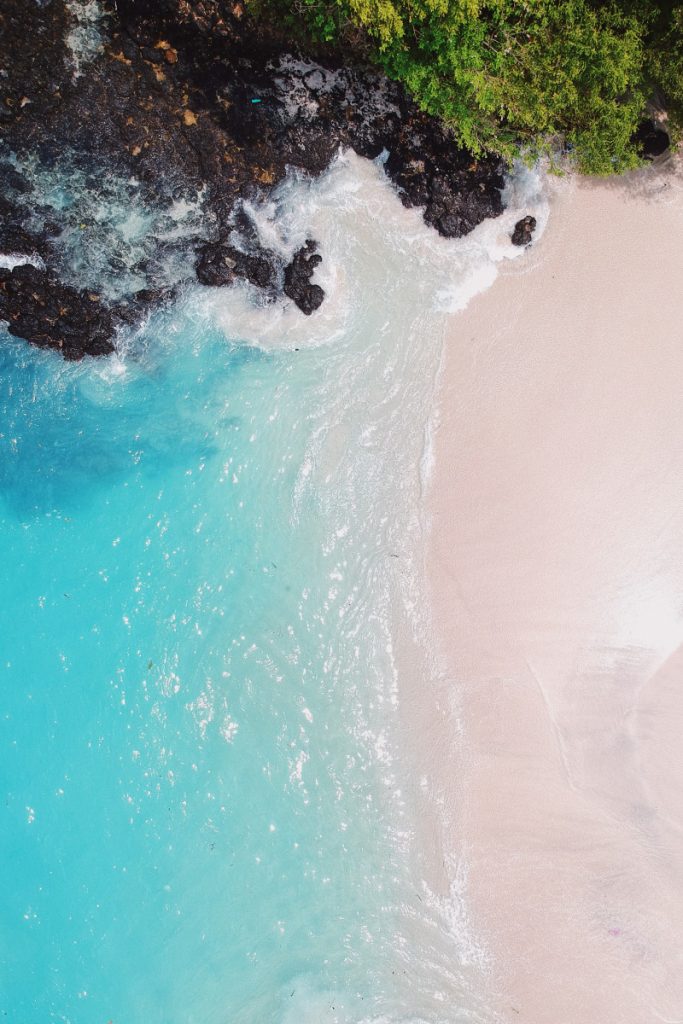
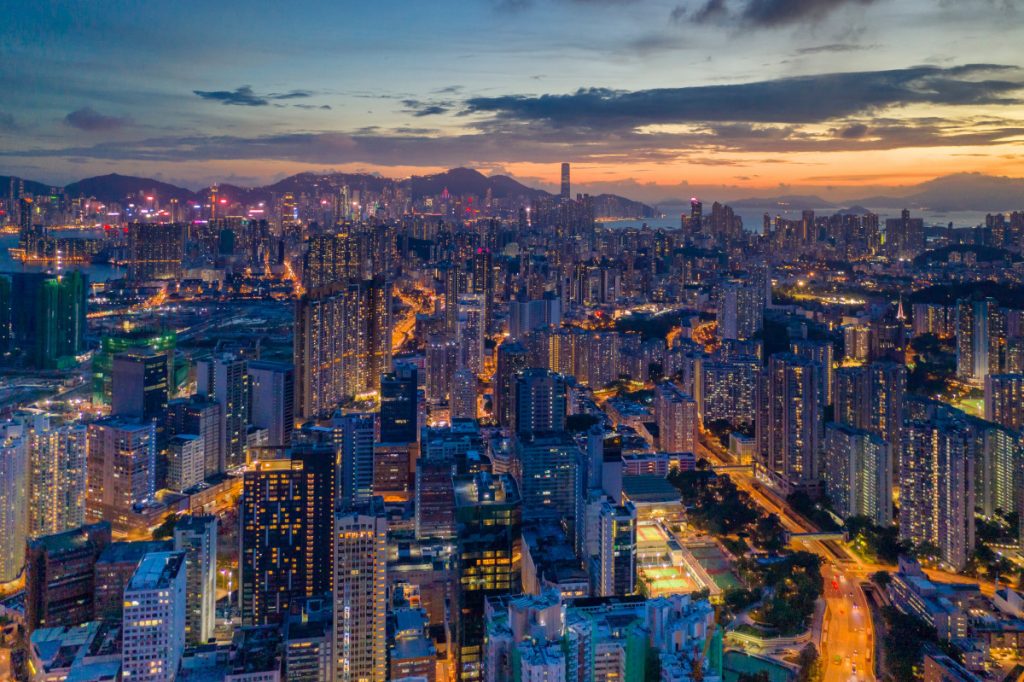
Gallery of DJI Drone photos
Here are some examples of photos drone pilots have been able to achieve with their DJI drones. There is no reason that, with practice, you cannot produce the same!
If you want more Photo ideas – check out my other article – click here: Drone photography ideas – 20 ideas to LEVEL UP your drone shots!
DJI Mavic 3 – Image quality
DJI Mavic 3 is the company’s most advanced folding model, with a weight of less than 1 kilogram when folded. The drone is available in the form of two models, the more advanced of which is the DJI Mavic 3 Cine, which comes with built-in storage that is 1TB of SSD. Although you can also use an external SD card for more storage.
It also allows for more HQ video recording and has a touchscreen built into the drone. The DJI Mavic 3 uses a Hasselblad camera, along with the main camera that can offer amazing photo quality. The Four-Thirds camera can capture images in an aperture that can be adjusted from f/2.8 all the way to f/11.
It can capture images in both JPEG and raw formats. In fact, the other camera uses a CMOS sensor and a focal length of 162 mm. This gives it a fixed aperture at f/4.4 along with the ability to zoom in 28 times.
To culminate all these specifications into practically, you are going to be seeing absolutely stellar shots with almost no need for color correction unless you have a certain aesthetic sense. The larger sensor allows for more light to enter the lens allowing for more difficult shots to be captured.
DJI Mini 2 – Image quality
While the DJI Mini 2 is hardly the most advanced camera option offered by DJI, it offers decent photo quality at an affordable price. The drone comes with a camera sensor of 1/2.3” CMOS and has 12 MP photo quality. The focus range has a minimum of 1 m, and the camera has an aperture of f/2.8.
You can capture images in both JPEG format and RAW format, and the best part is that you can take advantage of the following imaging modes: Single shot, interval, auto-exposure, panorama, and wide-angle. When it comes to capturing photos, the ISO ranges from 100-3200 on both auto and manual modes.
You can also take a look at this video for some more editing tricks with the DJI photo quality:
DJI Air 2S
When it comes to camera quality, the DJI Air 2S is some of the best that DJI has to offer. With this drone, you get incredible photos, along with various amazing specifications which make it the perfect drone if you are looking for both functionality and quality.
The DJI Air 2S drone uses a 1″ CMOS sensor and has a photo quality of 20 MP. It can shoot images from up to 0.6 meters away and has an aperture of f/2.8 along with a 35 mm lens.
It shoots still images at 20 MP, in either a 3:2 or 16:9 ratio for the image size. It can shoot images in the following modes:
- Single shot
- Burst shooting
- Auto Exposure
- Timed shooting
- SmartPhoto (with HDR)
- Wide-angle
- Panorama
- 180 degrees
- Sphere
You can also shoot images in both JPEG and RAW formats.
How To Adjust Camera Settings To Improve DJI Photo Quality
When it comes to capturing breathtaking photos with your DJI drone, there are two elements to consider. First of all, you need to be able to use the right flight techniques to get the camera set to take the picture.
However, there is another angle to consider – your camera settings. With the right camera settings, you can create masterpieces, while bad settings can leave you with less than average photos. Luckily, there are ways you can adjust the camera settings on your DJI camera to get the perfect pictures every single time. Here are some tricks to follow:
Set Exposure Carefully
When you have a new DJI drone, you may notice that sometimes the picture is so bright or so dark, it can look like just a white or a black image. This is a sure sign there needs to be some adjustment to the exposure mode.
If you are not familiar with the advanced ways to adjust exposure, the best way to start is to use the built-in auto mode. This will allow you to take pictures and have the camera automatically adjust the exposure settings to correspond with the lighting situation.
Once you have an idea of what is necessary, you can switch back to the manual and adjust the settings to get the result you are looking for with the exposure levels.
Adjust Exposure Value Compensation
When you are already in auto mode or you have the perfect manual exposure settings, there are some cases when your image may still feel a little too dark or light. If this is the case, you will need to adjust the exposure value settings.
This will allow the image to adjust exposure on a more specific level. Increasing the EV will make the image brighter to look at, whereas reducing the value can make the image darker.
However, EV settings will need constant adjustment depending on the setting – so you will need to make sure you compensate it to match each set you take an image of, to consider the lighting correctly. The EV settings are adjusted by changing your ISO and the shutter speed on the DJI drone camera.
Change ISO If the Image Is Noisy
Like exposure, ISO can affect how brightly lit an image is, but there is one thing that makes it different – too much ISO can increase the noise in an image. If you’ve ever seen an over-exposed shot, you’ll notice a grainy effect. While this may be intentional in some cases, especially when capturing black and white photos – it isn’t an intended effect.
ISO is a measure of how fast the shutter speed is, and you typically need a high ISO when you are shooting fast-moving objects or objects that are present at night-time or in low-light levels.
Typically, a high ISO is not the best setting when shooting in the daytime, so you should keep the ISO at a manageable level depending on the time of the day and the amount of light available. However, your DJI drones come with an auto ISO mode that will allow the camera to automatically adjust the ISO depending on the environment you are shooting in.
Keep White Balance Normalized
White balance is a measure of the color temperatures that the camera reads within your image. This is why having a white balance that is not right for the image can result in strange and sometimes completely unwanted colors.
In this case, you will need to readjust the white balance to get the colors right depending on the lighting in the image. As you may know, different types of lighting environments can create different color tones in your image.
The camera works to add cool tones to the image when there is warm light, and vice versa. While the DJI drones come with an automatic white balance, you can adjust this tool to completely adjust the color tones of images based on what you are looking for.
Sometimes, you don’t need to worry about white balance when you are capturing images if you shoot in RAW format. This way, you can easily adjust the white balance later as you edit the photo, without degrading or damaging the quality of the photo. However, if you shoot in JPEG, you will not be able to make such dramatic adjustments later.
All you need to do is shoot in RAW, and then send the images to your phone so you can process them further on other apps.
Adjust To Get Accurate Focus
The last thing anyone taking photos wants is to have an image but not have the right focus. DJI’s drones come with an auto-focus mode, which allows you to adjust the subject of the photo by tapping on the screen, which causes the focus to automatically adjust to give you sharp images.
However, this setting may not be the best when you are shooting in the dark, or in other lighting environments. You can then switch to the manual focus mode, and use a tool called Focus Peaking.
This allows you to still get an accurate amount of focus for the image.
Final Thoughts On DJI Image Quality
When you are looking to make adjustments to your images, it’s important that you consider each of the settings on your drone camera. While many of them will be automatic by default, making sure that you are able to adjust these settings manually can make all the difference in how great or poor an image looks.
Using them to the best of their capabilities is what will help make the DJI photo quality shine, along with some of the built-in tools offered by the cameras on DJI drones.
References
- drones/” target=”_blank” rel=”noreferrer noopener”>https://www.nytimes.com/wirecutter/reviews/best-drones/
- https://forum.dji.com/thread-258053-1-1.html
- https://photographylife.com/reviews/dji-mavic-air
- https://store.dji.com/guides/7-camera-setting-mistakes-most-beginners-make/
- https://www.dji.com/mini-2/specs
- https://www.dji.com/air-2s