Drones are so easy to fly that almost anyone can capture great footage. However, every drone pilot has room for improvement. Whether that is becoming a better navigator, choosing the flight location, or framing the perfect shot – everyone can do with brushing up some aspect of drone cinematography. It can take a while to get used to the combination of being simultaneously a pilot and a cinematographer. Follow the simple drone cinematography tips in this article and I guarantee that your shots will get better and better.
It isn’t always easy when you first start out flying a drone. There are aspects that you need to get used to before you are able to capture the footage you dreamt of. That brings us to our first tip – planning your shots – it’s only through careful planning that you will be guaranteed to capture the shots that you imagined you could.
Plan your shots
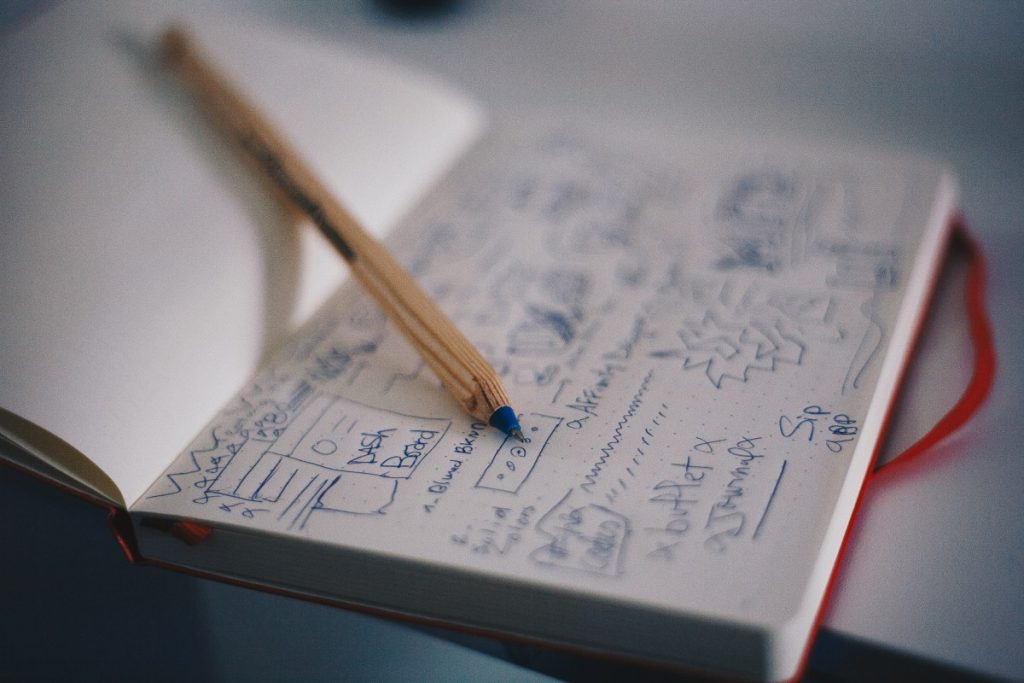
This is properly one of the least romantic and interesting parts of flying a drone for cinematography purposes. There is no doubt that I have been efficient when I have planned my shots in their entirety. For example, I was recently asked to film some B roll footage for a company’s social media videos. Before I accepted the job, I made sure that I understood exactly what they needed from the footage and where it would end up. Starting a project with the end in mind is one of the best ways to ensure success. And a happy client.
Here are the sorts of things that you need to think during the planning stage – before you even charge up your batteries:
- confirm the location of your flight – before you take off, it’s important that you have confirmed the location of your flight before you travel there. Some clients can be a little bit light on the details and so sending them photos or GPS locations before attending the site will make sure no one is time is wasted. It can seem that this is a pretty silly mistake to make but it’s better to be safe than sorry.
- Use Google Maps/Google Earth to map the location – one of the first things you should do is use Google Maps or Google Earth to map the location of your flight. Google Maps will be able to tell you if there are any issues in the surrounding areas that could pose a threat to your flight. If you are in agricultural land you can also look for any chicken farms nearby as this is one area where predatory birds may swoop on your drone.
- Gain the appropriate permissions – if you are flying over private property you need to make sure that you gain the appropriate permissions from the landowners or relevant government agencies before flying. Also, you have to make sure that you have permission to fly in the area from a federal agency.
- Weather forecast – I like to check the weather seven days, three days, and one day out from the flight. That way I get an idea of how the weather conditions are changing and if they are true to the prediction. If you have a client, this also gives you plenty of opportunities to inform them that the flight may or may not be possible due to environmental factors.
- Client expectations – I like to get everything in paper before setting off on my mission. This includes communicating with the client my understanding of the purpose of the drone flight. This includes their goal and the big picture of why they have chosen a drone flight to capture footage. I also highlight any specific goals for that flights and how I am aiming to do it. I include a shot list with the mission objectives. This means that there is a paper trail if anything goes wrong but also that the client and my expectations are aligned perfectly.
Planning can seem like some of the worst aspects of flying a drone. But everything that I’ve mentioned in the list above is essential for getting the job done properly. Of course, if you are only flying for fun there isn’t necessarily a need to communicate every aspect of your flight. In fact, some of the best flights I have had is when I have been flying for fun and captured the unexpected.
One of my favourite YouTubers, Casey Neistat, has a saying – planning prevents piss poor performance. I can’t agree with this more.
Keep it simple stupid
There can be a tendency when you are flying your drone to want to change the drone cinematography world. The fact of the matter is that the fundamentals of cinematography and framing your shot are just as true for drone footage as they are for terrestrial content creation. If for some reason you are not getting the shots that you want, there is almost certainly a foundational cinematography rule that you can improve on. This includes:
- light – the sun is one of the best sources of light for video. That makes it perfect for drone footage. If you are filming in natural light, you should do your best to get your footage in the morning on the evening when the sunlight is just a little bit softer. The camera can only operate as well as the light that enters the lens – make sure your subject area has plenty.
- Rule of thirds – everyone who has had any contact with filmmaking knows about the rule of thirds however using it as a matter of procedure can be something that people forget. When you are framing your shot just remember the rule of thirds and don’t be tempted to try something “special” as it can cause unnecessary framing issues when you come to edit your footage.
- When you are editing don’t overdo it with the transitions – every video editor comes with a variety of transitions. Transitions are a great way to lead the viewer from one shot to another but keep it simple. Just use simple jump cuts, fades, or simple wipes to hide the transitions. The more attention you draw to your transitions and editing, the cheaper and more amateur your drone footage and resulting video will look. The opposite of what you want to achieve.
When you are planning your drone flights make sure that you capture the most important footage first. Even if they are relatively un-interesting, static or simple pan shots can be that the shop that is actually most useful to the client. It can be tempting to start to jump into different transitions, movements, sweeping shots, low flying shots – but unless you’re a creative brief specifically asks for that save that for when you have captured the basic shots first. Quite often I like to hover in one place for five minutes and speed up the footage in postproduction. This really gives a sense of what the location does over a period of time and is interesting to look at.
In summary, don’t try to run before you can walk – keep everything simple and start from the foundations and work your way up.
Utilize the automatic drone shot settings
Here is one of my best drone cinematography tips. It is something that I had to learn myself.
Your drone probably has some automatic shot features that are perfect to use. For some reason with our drones and the software, we steer clear of the automatic shot features that the manufacturers have worked hard to embed in the drone. Different flying modes like cinema graphic mode, tripod mode, and quick shots allow you to capture professional level drone footage without having to think too much about the piloting aspect. Quick shots that are included in the DJI series includes:
- rocket – your aircraft will hover at a low wide angle viewpoint and then suddenly shoot upwards like a rocket lifting off into space while maintaining a downward is facing camera.
- Helix – helix creates a circle around the subject keeping the subject in the frame of view. As the drone circles it also flies outwards and upwards in a spiral like motion.
- Dronie – the camera fixes on a subject and then flies backwards and upwards whilst keeping the subject in frame. This makes this one perfect for revealing breathtaking locations and landscapes and is one you have almost certainly seen in drone footage.
- Circle – the drone keeps the camera focused on a subject and circles it slowly keeping a constant distance.
Feel free to run a trial flight to understand exactly what automatic flight features your drone has.
Some of them can be a little bit cheesy but others may be the perfect shot you are looking for. The advanced control and flight features may be the thing that provides your shaky drone footage with the stability and smooth motion you need to deliver the perfect shot.
Factor in editing error bars
While you are flying your drone in capturing the footage it can be tempting to quickly move from one planned shot to another. The truth is, when I was flying my drone and only got the shots that I “needed to” I always ended up regretting not filming for longer when I was in the postproduction stage. If you need a land escape reveal all a fly through shot you should start and end your video capture well before and after you think your shot has been completed.
I like to fly past the subject for at least five more seconds before the shop is considered done. If it is a simple stationary pan I will either repeat the movement a number of times and extend the length of time that the shot is held by at least 10 seconds. These massive error bars on your raw footage will mean that when it comes to editing you will have plenty to play around with. I also find that occasionally the best parts of the shot after I would have push stop on the recording. For example, that could be birds flying through this the scene which always makes it look really cool.
Making sure you capture far more footage than you need is an important step in ensuring that you can deliver some spectacular footage and take your video to the next level.
Combine drone and camera movements
Okay, if you only take one tip away from this section let it be this one. When you are creating cinematic panning shots you should combine 3 movements (two minimum for the perfect shot. Let me explain why…
When I first started out with drone footage, I would rely on static shots and single movement shots. This still created some awesome moments – but I wasn’t sure I was nailing it! This is when I discovered the power of combining multiple movements – and the results spoke for themselves.
The biggest tip I have for you to make the most of your drone shots is to combine three or more movements to maximize the cinematographic feelings of your videos. By that I mean you have these movements and rotations of axis to choose from:
- Yaw right/left
- Pitch up/down
- Roll right/left
- Throttle up/down
- Camera pan up/down
- Camera pan left right (on some models)
What I like to do is start moving the drone in one direction. Then add another movement with the other joystick. Then I add a third with the camera or adjustments to the joystick.
The trick is to hold the sticks and gimbal wheels steady so that you achieve a smooth movement for at least ten seconds. When you come to edit the footage, you will have some that will be smooth and long enough for you to speed up if you need to!
Use the right frame rate
Getting used to your drone manual camera settings are going to be one of your best ways to achieve cinematic smoothness and realistic motion blur. This has to do primarily with the shutter speed and frame rate than anything else. A really fast shutter rate will not give an even blur and can cause choppiness in the image.
You also need to understand where the footage is going to end up and published. You need to match the frame rate to the local settings – if your footages can end up on TV. For example, the United States of America uses NTSC and so your frame rate should be set to 30 or 60. If you are broadcasting your drone footage in England, Australia, or Africa they use PAL which needs a frame rate of 25 or 50 frames per second. It also depends on the TV set or monitor and how compliant it is with the frame rates that you have chosen. Computer displays such as smart phones and tablets are generally driven at 60 Hz and are not able to provide smooth video at different frame rates.
The basic rule of thumb is that the shutter speed should be two times the frame rate.
If you find that the shutter speed results in an overexposed image then you should invest in some neutral density filters that will keep the image from being overexposed whilst also allowing you to maintain this simple rule of thumb.
Speed
When you are flying your drone you are limited by the top speed of that particular model. It is also very dependent on the environmental conditions as if it is flying into or with the wind. The high-end cinematography drones have a massive top speed of about 50 mph – that could be why you are not achieving the same effects that you are so used to seeing in the theatre. It’s really easy to speed up your drone footage by using an effect called timewarp to speed up the clip. And it also adds motion blur to the image.
Playing about with the time of the raw footage is a fantastic way to get a new look and feel from raw drone footage. The timewarp effect is one of the quickest and easiest ways to achieve motion blur whilst increasing the speed. And you can use this effect to ramp time as well. This is one of the best settings that contains a natural feel to the drone footage.
Keep it all smooth
One way of making sure that your footage is as cinematic as possible is to think about the smoothness of every aspect of your drone footage. The smoothness that I’m talking about is applied to:
- drone flight – drones have a load of really fancy electronic and feedback mechanisms that keep them relatively stable in the air. However, sometimes due to environmental factors the drone doesn’t fly as smoothly as you would have hoped. In that instance, I would rerecord the shot. Don’t be too harsh or erratic with the joysticks either. You can program the drone’s response to the joystick in the DJI GO4 app if you are finding that the drone moves too quickly or erratically when you move the joysticks.
- Camera gimbal – the camera gimbal is the thing that moves the camera. To ensure a cinematic feeling to your drone footage you should move the gimbal and the camera in any very smooth fashion. It’ll take a little bit of practice to understand exactly how the gimbal responds to the joystick controls, and this can also be calibrated in the app.
- ISO settings – if you are using an automatic iso setting the drone will choose it based on the exposure and amount of light in the current environment which can lead to quick changes of exposure and brightness. Don’t use the autosensing and set it on an ISO and colour balance and the drone will stay locked on that as opposed to changing as you fly.
As I’ve said, cinematic footage is smooth and deliberate – you will need to make sure that your drone flight achieves these two important features of cinematic footage.
Use motion blur
It is common to use a higher shutter speed when filming with a drone. This is because you can get some awesome slow-motion footage without having dropped frames (doubling up on frames due to the difference in frame rate between the raw and edited footage). When you’re flying a higher attitude is this really doesn’t cause many issues because the train is moving so slowly underneath you. However, when you are flying close to trees this can cause a strobe in effect in the footage that can be quite distracting.
It is easy to reduce this effect by adding a realistic motion blur to our footage in our video editor.
In Adobe after effects this is called pixel motion blur and is located under the effects panel of the toolbar. This effect looks at each frame of your shot and considers the amount of pixel motion that happens and adds a blur to the motion.
Practice, practice, practice!
One of the last aspects that is so very important when learning to capture cinematic footage is – patience and practice. We live in a world where social media provides us with immediate feedback and gratification on nearly every single day of our lives. This can mean that we can get pretty impatient when learning a new skill. But make no mistake, flying a drone and capturing awesome footage is a skill that needs to be built over time and practised regularly.
Even with some of the best advances in automatic drone flying and cinematography you will still need a human touch to make your footage just like you see in the theatre.
Conclusion
So, there we have it. There are my top pro drone cinematography tips that you can implement straightaway to make your drone footage awesome and level up your videos.
If you want more awesome drone tips check eight the ultimate list of 30+ drone tips – click here.
The important thing is that you are continually learning and trying new things. As you become more proficient as a drone flier and cinematographer you will see a vast improvement in the footage that you are able to collect. As mentioned at the beginning of this article, make sure that you get the foundations of great cinematography sorted before attempting anything particularly tricky.
Happy drone flying and good luck at capturing the drone footage you’ve always dreamt of!